Log Home Pictures from 2012, Part 2 of 4
There are multiple picture pages for this year. . . . . . . . . . . . . . . . . . . . . . . . .This is Page 2 of 4. Go to page 1 2 3 4 next prevOther years: 1991 1992 1993 1994 1995 1996 1997 1998 1999 2000 2001 2002 2003 2004 2005 2006 2007 2008 2009 2010 2011 2012 2013 2014 2015 2016 2017 2018 2019 2020 2021 2022 2023 2024 2025
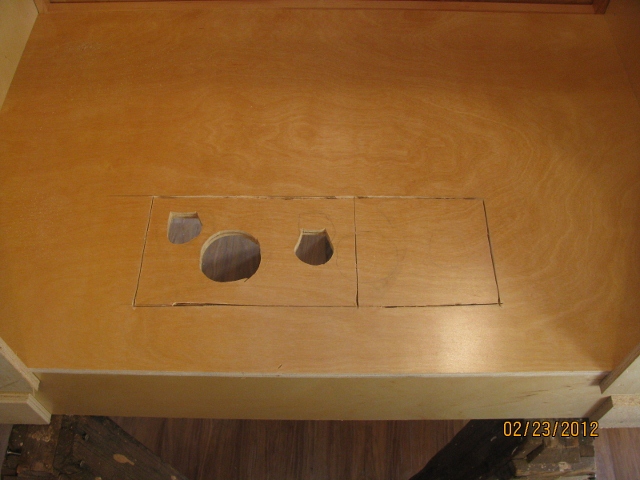
2/23/12 This is an example of measuring once and cutting at least twice. Because of taking the wrong dimension off of a drawing, I cut the holes for the plumbing pipes in the kitchen sink cabinet six inches off. After some advice and sleeping on it, I figured out how to move the holes six inches.
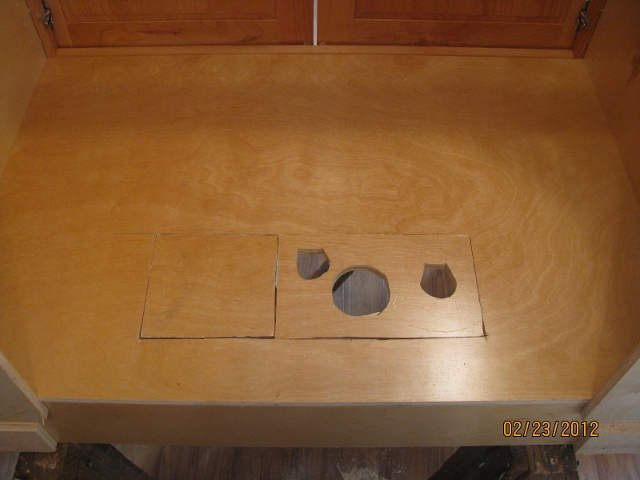
2/23/12 After cutting the two rectangles you see out of the cabinet bottom, I simply interchanged the rectangles and glued them back in. The holes are now where they belong.
3/7/12 Near the center of the picture, you can see the new Giant Sequoia tree (named "Bill") in a pot waiting to be transplanted. It will go somewhere near where it is sitting now.
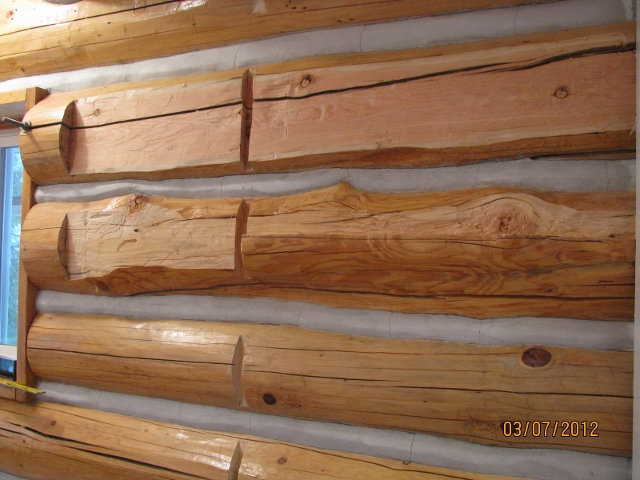
3/7/12 Here you can see the kitchen wall logs flattened so that they can receive the cabinets. The vertical slot is to receive the 3/4" finished panel that will be to the left of the refrigerator.
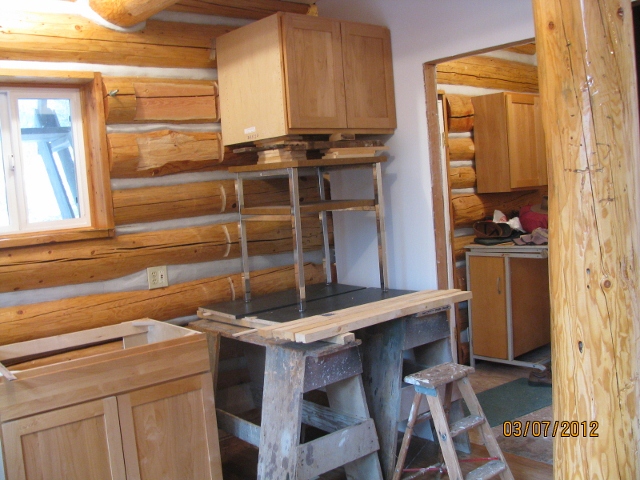
3/7/12 Here you can see the temporary scaffolding used to hold the cabinet above the refrigerator space up against the wall prior to permanently fastening it. You can also get a glimpse inside the utility room and one of the cabinets in there.

3/7/12 This detail shows how the wall log was cut to form a ledge to help support the cabinet above the refrigerator.
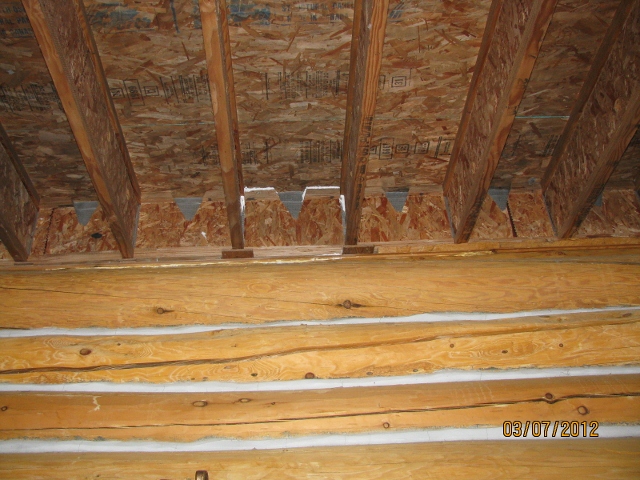
3/7/12 This picture shows the birdblock above the Grid A wall where the mice figured out how to break in to the cabin. This picture was taken after I plugged up all the possible holes with white caulk.
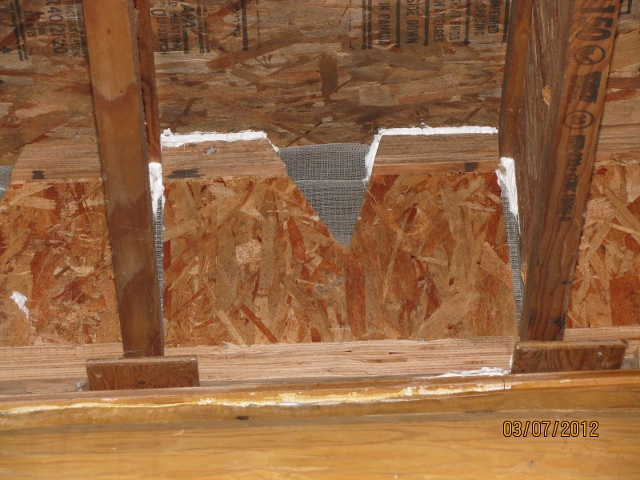
3/7/12 This is a close-up of the birdblock where the mice got in. They pushed the top of the narrow vertical screen on the left side of the birdblock against the TJI web and forced their way in. I plugged up not only that breech, but all the other cracks that looked like they might present another opening.

3/8/12 Here you see some of the kitchen cabinets and the big vertical panel sitting in their final locations. They are not yet fastened down permanently, however.

3/15/12 The cabinets against the log wall are installed. The countertop is just some temporary scrap pieces of particle board.
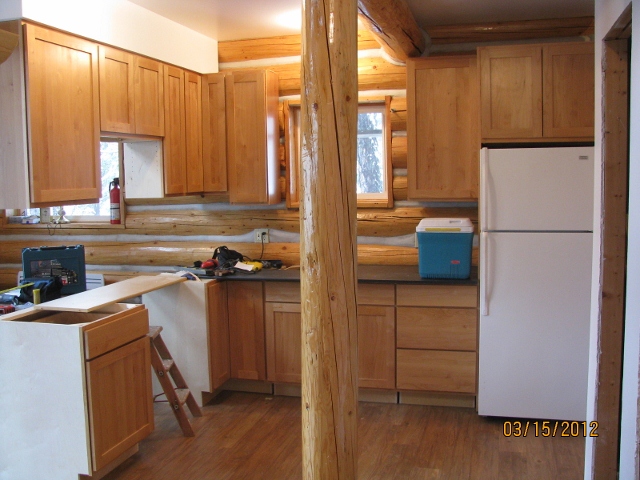
3/15/12 The gap in the units below the soffit is for the range and the ventilation hood.
4/4/12 The small evergreeen tree in the center of the picture is Bill, the latest giant sequoia tree, planted to replace the previous one named Bill which didn't make it.
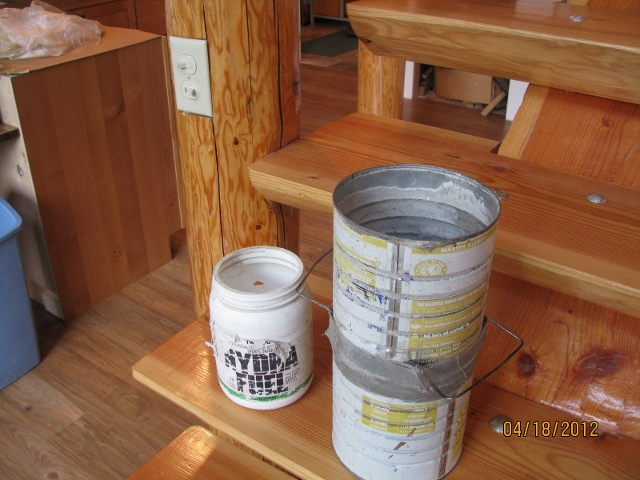
4/18/12 This is a picture of the containers I use to get the proportions exactly right when I mix mortar. The one on the left, with the hole in the back side is for water and the double coffee can is for the mortar mix. I took this picture to help answer a question I got from a reader of this website.
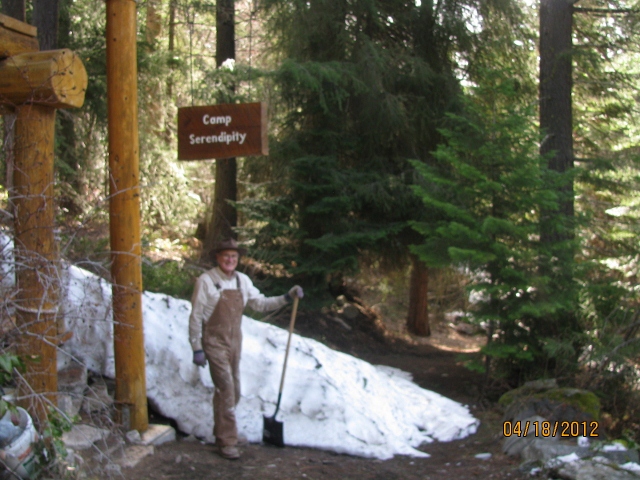
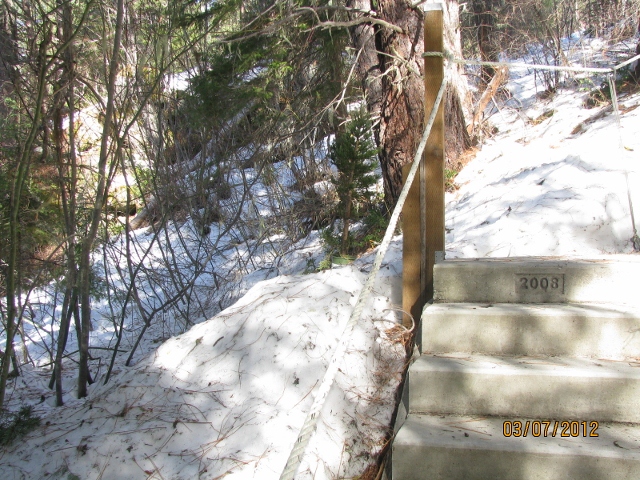
4/18/12 This is the snow berm beneath the roof before I started clearing it away. I want to be able to drive up the roadway as soon as possible and if I didn't clear the berm, it would take several more weeks for it to melt away.
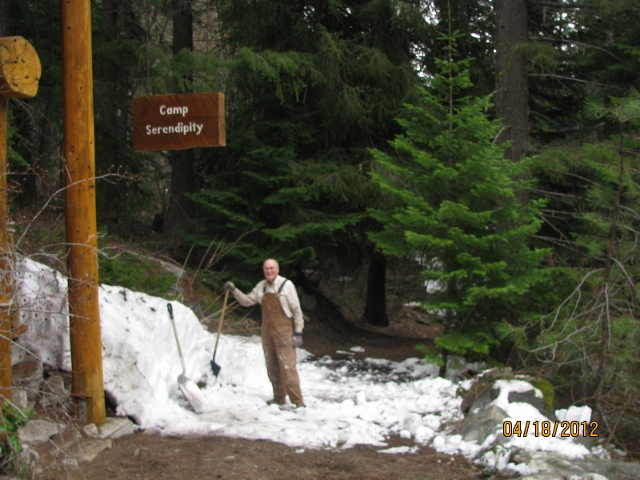
4/18/12 Here the job is nearly finished after two or three hours of fun shoveling.
There are multiple picture pages for this year. . . . . . . . . . . . . . . . . . . . . . . . .This is Page 2 of 4. Go to page
1
2
3
4
next
prev
©2012-2025 Paul R. Martin, All rights reserved.