Log Home Pictures from 2014, Part 2 of 5
There are multiple picture pages for this year. . . . . . . . . . . . . . . . . . . . . . . . . . . .This is Page 2 of 5. Go to page 1 2 3 4 5 next prevOther years: 1991 1992 1993 1994 1995 1996 1997 1998 1999 2000 2001 2002 2003 2004 2005 2006 2007 2008 2009 2010 2011 2012 2013 2014 2015 2016 2017 2018 2019 2020 2021 2022 2023 2024 2025
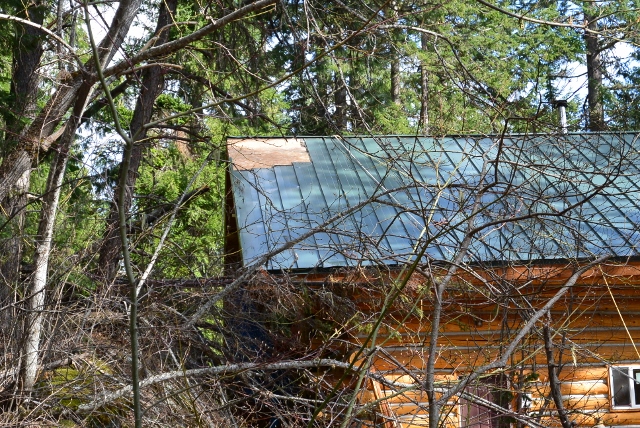
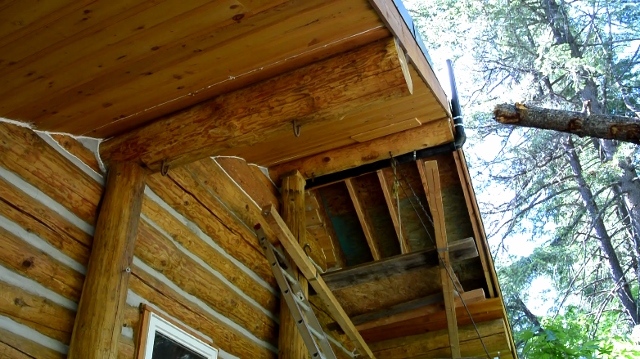
4/15/14 At this point, the roof structure has been restored. Four new rafters are in place and decked over with OSB sheathing.
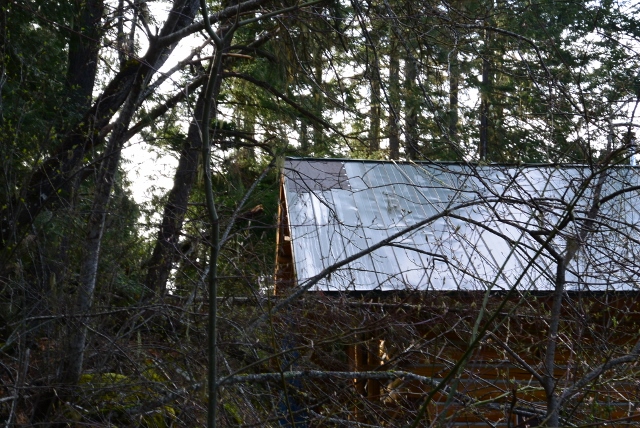
4/16/14 Here you see that the roof patch has been covered with tar paper.
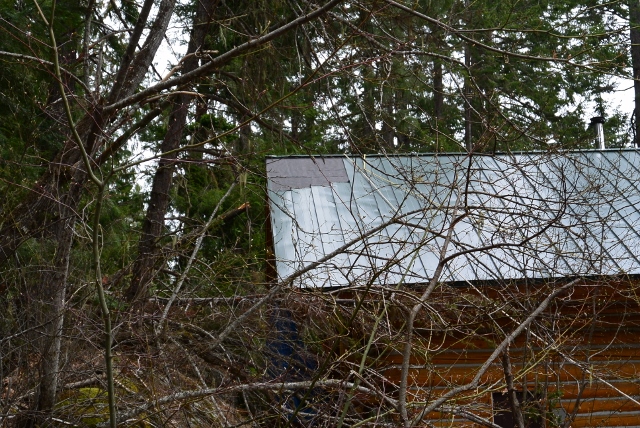
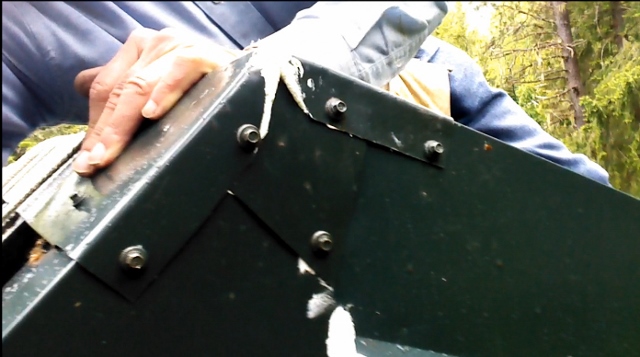
4/17/14 If you look closely, you can see the four clips along the right edge of the tar paper. These hold down the raw edge of the panel to the right which survived the damage. What you can't see is that that raw edge has been straightened up. It was bent over by the force from the falling tree when the adjacent panels were torn off.
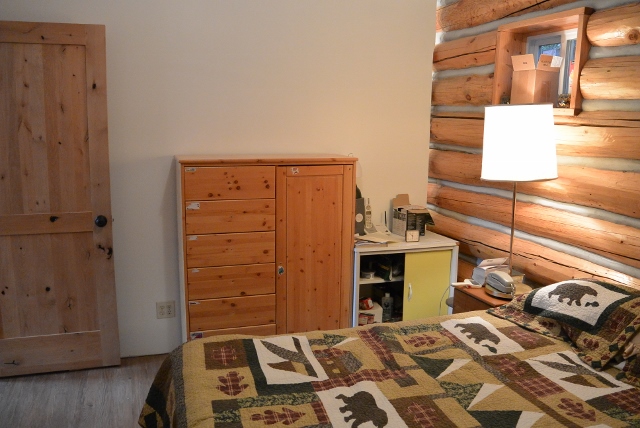
4/23/14 Here is the big dresser I moved into the cabin on April 23, 2014.
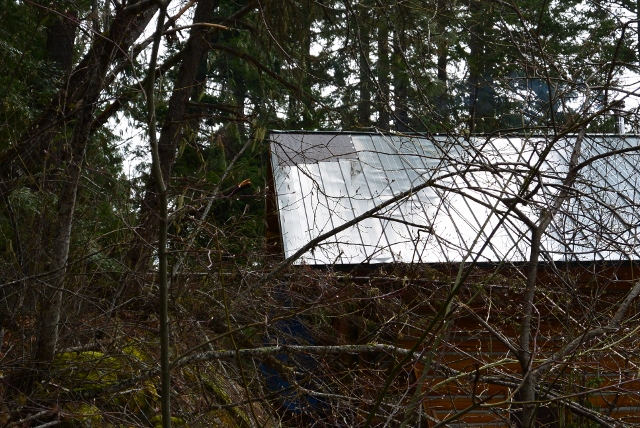
4/24/14 The first of four roof panels is installed to cover the patched hole in the roof.
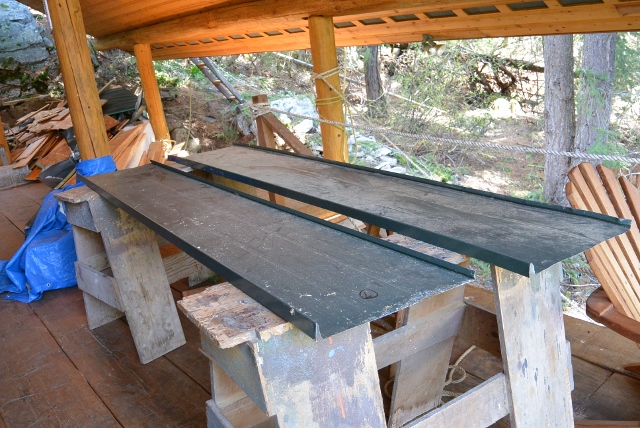
4/25/14 Two more panels are in the process of getting ready to install on the roof. The plan is to buy a new panel for the fourth one.
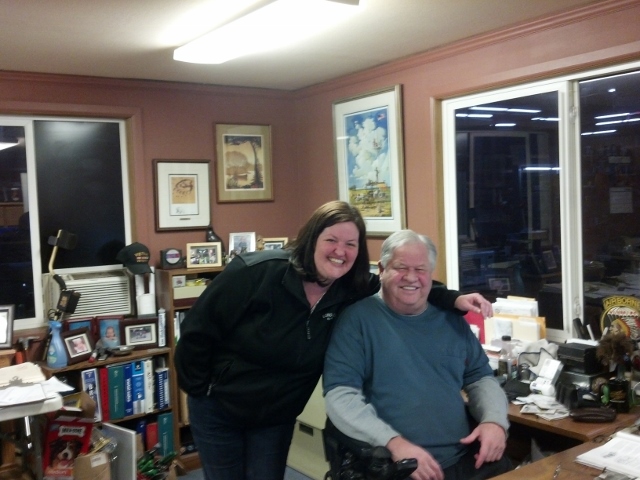
4/28/14 Here is Curt Pritchard and his Office Manager/daughter, Renee Fane in their office at CP Sheet Metals. Fortunately they still had some of the same metal that I bought for the cabin roof so that they could make a new panel and section of rake metal that I needed for repairing the roof.
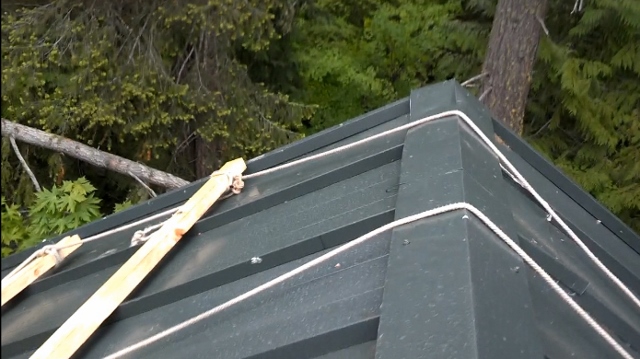
5/23/14 The roof repair is finally finished on the top. Here you see the panels and rake metal in place. The rigging is still there to help in replacing the plumbing vent stack which needs to be fastened to the fascia at the peak.
5/23/14 Here is a view of the finished fascia board and rake metal from the high rock.
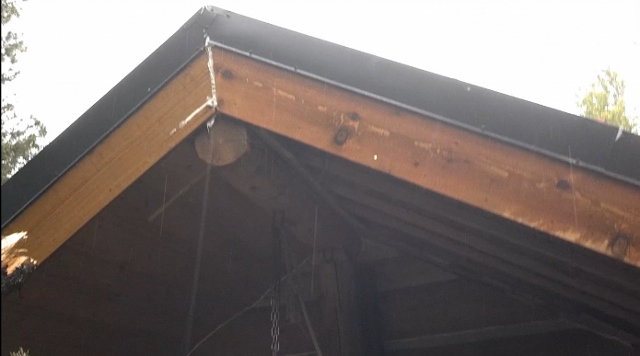
5/23/14 This is a close-up view of the detail of the rake metal at the peak. This is designed to keep insects as well as rain out. What remains to do at this point is to replace the sewer vent stack, replace the ceiling boards under the eave, and finally to remove the scaffolding.
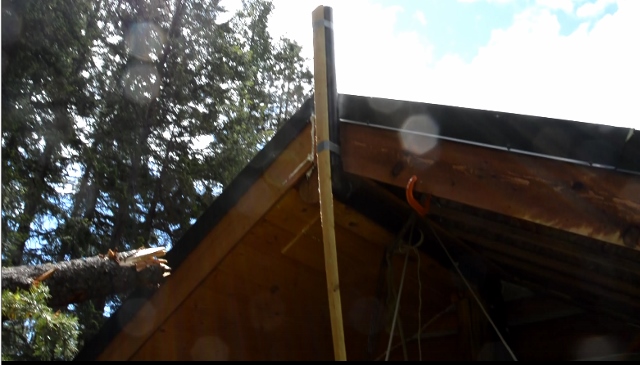
5/29/14 Here the sewer vent pipe is held in place by temporary rigging. The rigging includes a skinny long vertical board duct taped to the vertical portion of the pipe. The bottom extension of this board provides leverage and support to help hold the pipe in the correct orientation so it can be glued back together.
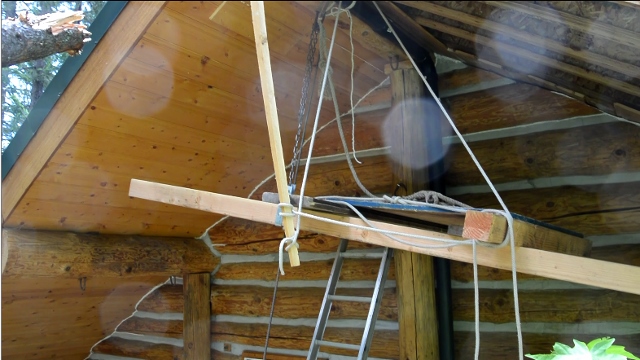
5/29/14 Here is a view of some of that rigging. You can see the ropes tied to the bottom of that skinny board to move it horizontally and also to haul it up to lift the pipe. Other parts of the rigging can be seen up under the ridge.
5/29/14 This is a view of the sewer pipe after it has been glued and finally fastened in place.
There are multiple picture pages for this year. . . . . . . . . . . . . . . . . . . . . . . . . . . .This is Page 2 of 5. Go to page
1
2
3
4
5
next
prev
©2014-2025 Paul R. Martin, All rights reserved.