Log Home Pictures from 2017, Part 2 of 4
. . . . . . . . . . . . . . . . . . . . . . . . . . . . . . . . . . . . . . . . . . . . . . . . . . .This is Page 2 of 4. Go to page 1 2 3 4 next prevOther years: 1991 1992 1993 1994 1995 1996 1997 1998 1999 2000 2001 2002 2003 2004 2005 2006 2007 2008 2009 2010 2011 2012 2013 2014 2015 2016 2017 2018 2019 2020 2021 2022 2023 2024 2025
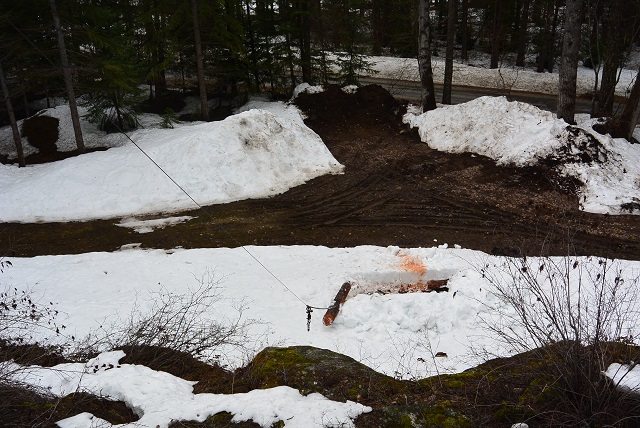
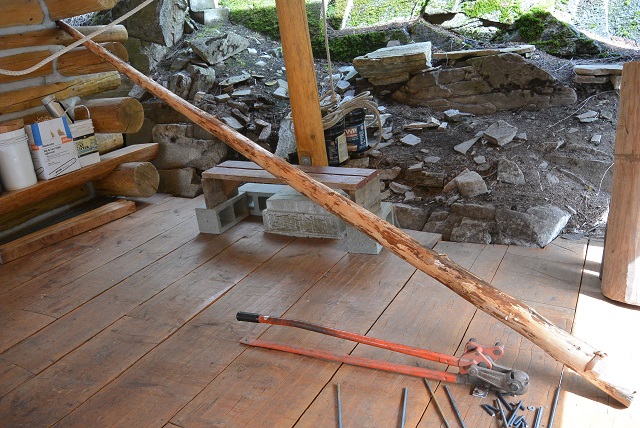
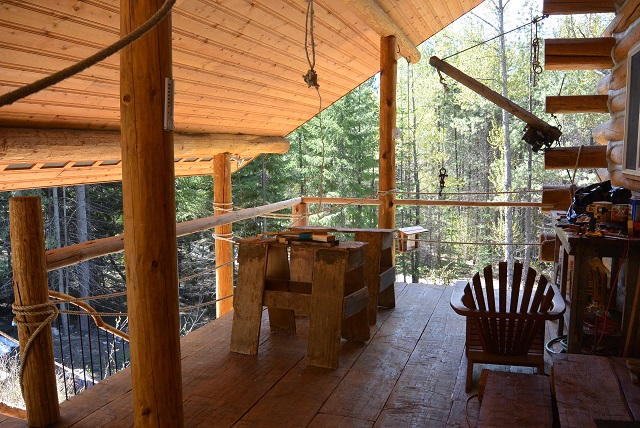
4/5/17 Building the railing system for the porch deck starts with the harvesting of a log from the end of the gate log. Here you see that the log has been cut and the porch crane is rigged to drag it up onto the porch deck.
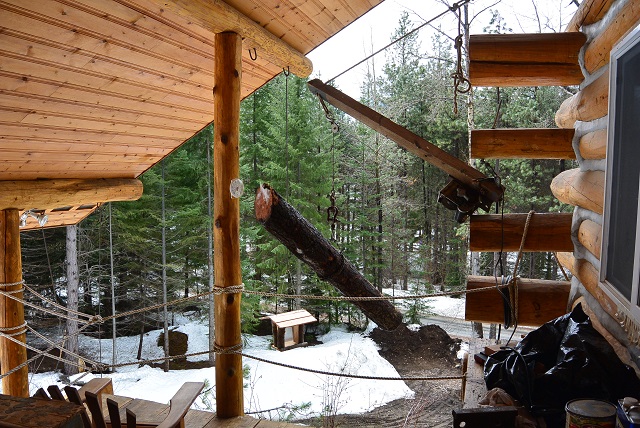
4/5/17 Here the log has arrived at the porch and is ready to be swung over and set down on sawhorses.
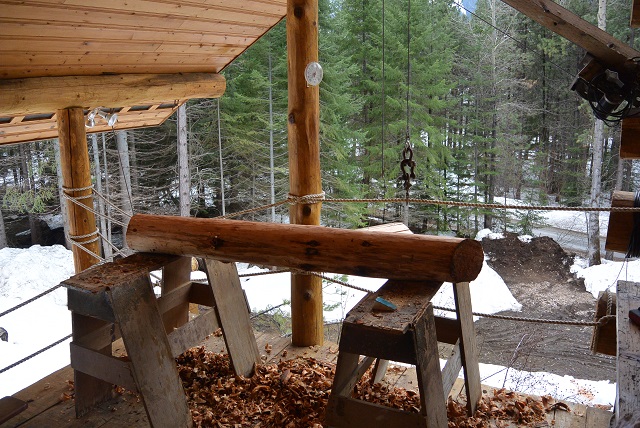
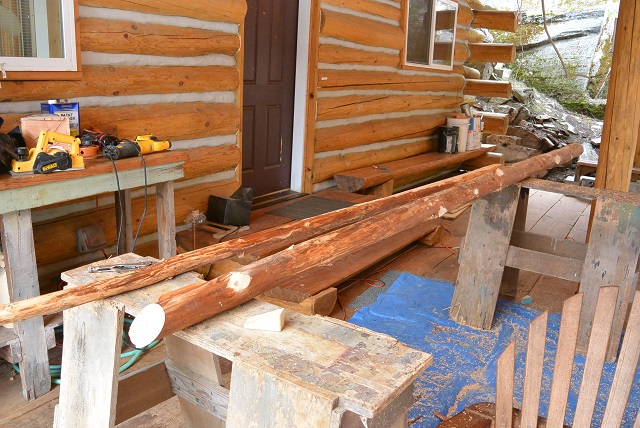
4/5/17 The log is on the sawhorses and has been drawknifed. It will then be cut to length, chamfered, cut to fit onto the porch deck, and then fastened to the deck with four big lag screws.
4/13/17 Here the newel post is fastened in place on the porch deck.
4/11/17 This long pole will be cut in two to form the two porch rails that meet at the corner on top of the newly installed newel post.
4/18/17 Here the pole has been cut in two with a single 45 cut. It still needs to be smoothed, scraped, and stained.
5/2/17 The Grid F.5 rail is partly visible on the left with its mitered end resting on the Grid F.5,3 newel post. The left end, which is out of the picture, is mortised into the Grid F.5,2 newel post. In the center of the picture you can see the drilling jig used to cut the mortise holes into the Grid F3 column. The hole saw used in the drilling is visible on the porch deck.
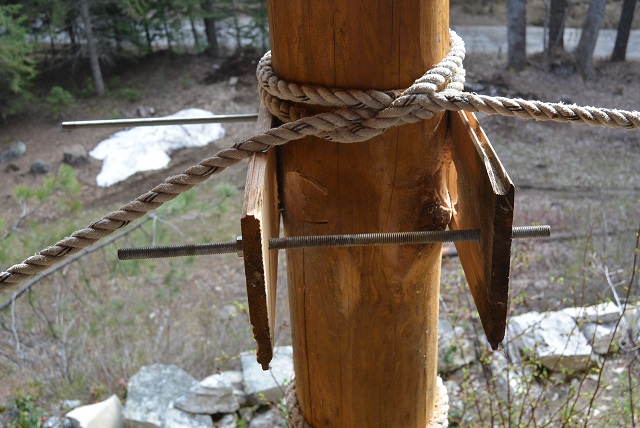
5/2/17 Here is a close-up view of the drilling jig. You can see the holes partly cut into the column. In addition to the allthread clamps, each of the boards is screwed to the column.
5/4/17 The three sections of the rail are fabricated and temporarily set in place. They won't be fastened permanently until all the balusters are installed.
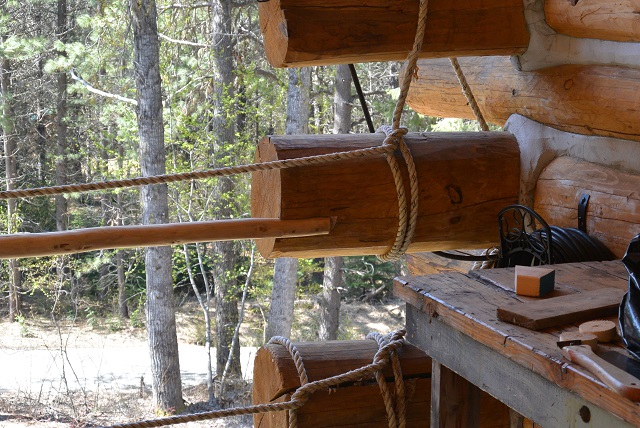
5/4/17 The small end of the rail is fastened to a projecting wall log with two screws.
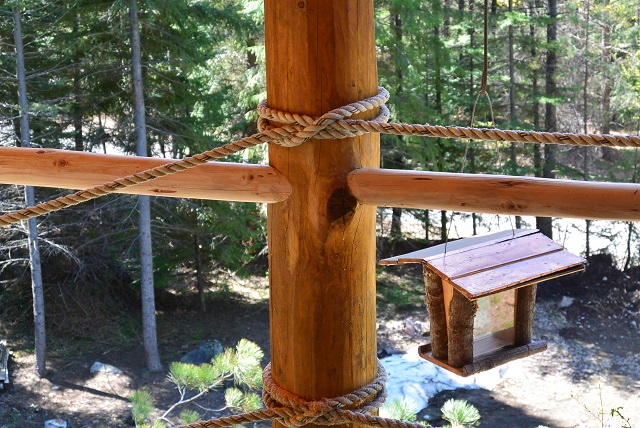
5/4/17 The rails are fastened to the Grid F3 column with two mortise and tenon joints. That way another 3 inches of rail length was gained, which was needed.

5/4/17 The miter joint will be fastened together with a 1/4" bolt running diagonally and horizontally through the joint, and it will be fastened down to the newel post with a vertical lag screw.
5/25/17 The rails have been drilled and stained. They are ready for baluster installation.
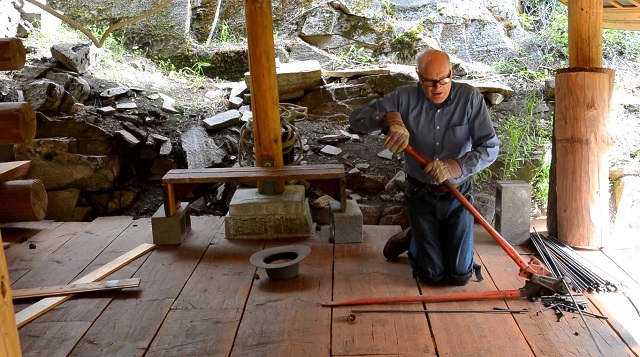
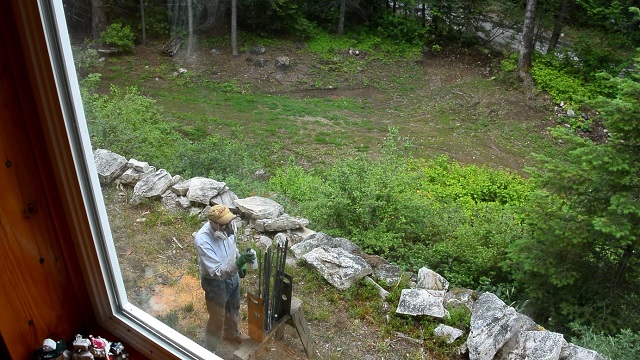
5/25/17 Here I am using Dr. Dick's rebar cutter to cut the balusters to length.
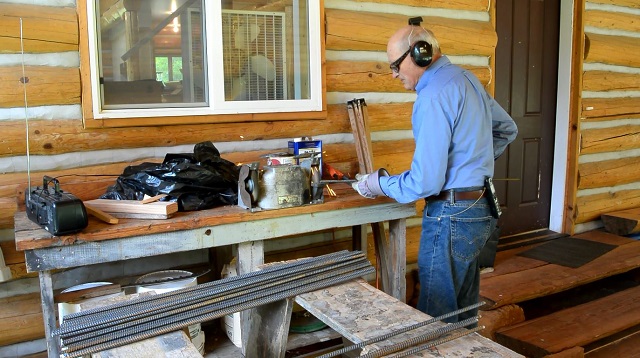
5/25/17 And here I am using a bench grinder to smooth the burrs and sharp edges from the ends of the rebar so they will go into the holes easier.
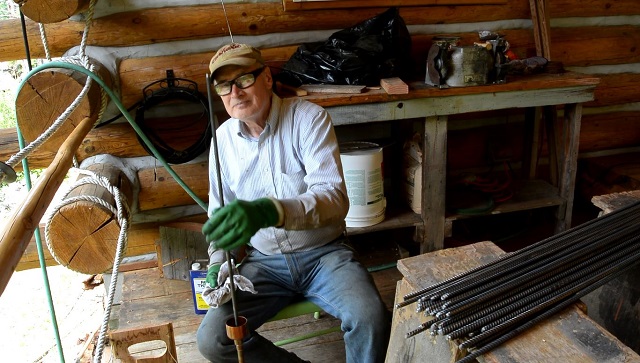
5/31/17 Washing rebar balusters by dipping them in the copper tank full of paint thinner and then wiping them down with a cloth.
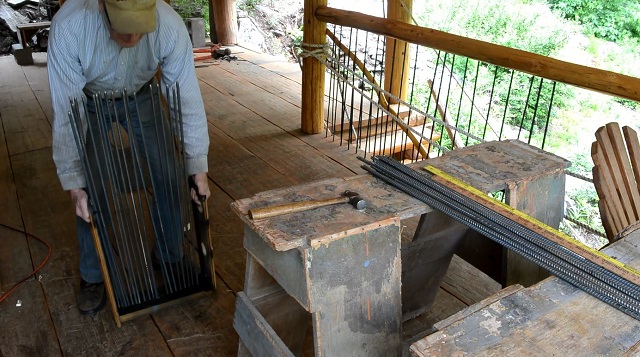
6/1/17 Picking up the paint rack loaded up with rebar ready to be painted.
6/1/17 Spray painting the rebar on the upper roadway.
6/1/17 The Grid F.5 railing is complete with its balusters.
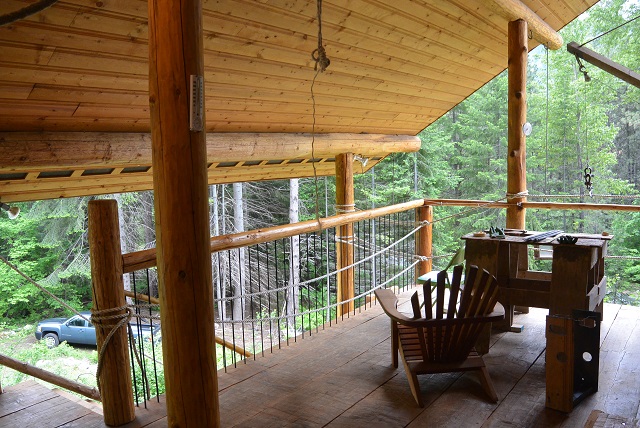
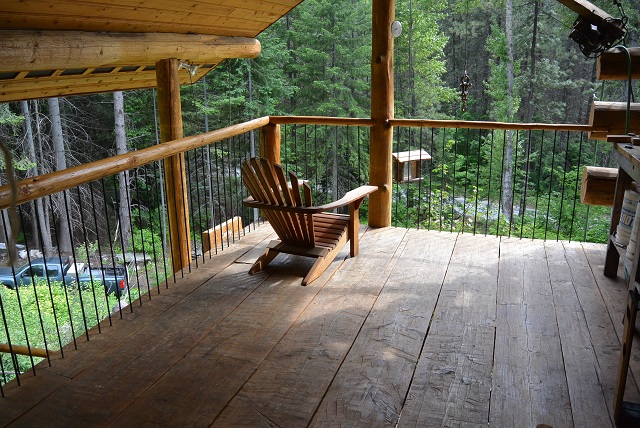
6/1/17 A view of the two completed railings from the porch.
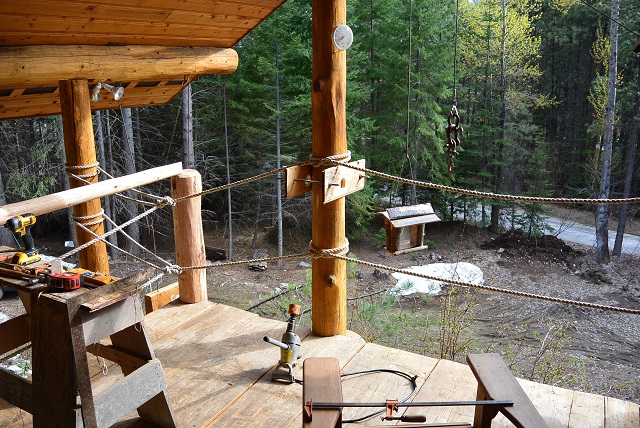
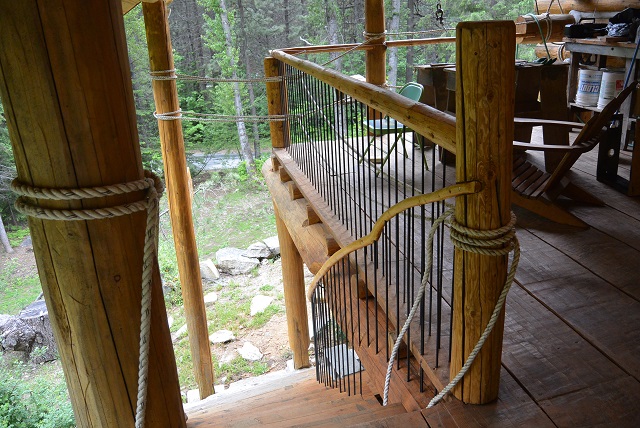
6/1/17 A view of the two completed railings from the upper roadway. It will look even better when the temporary "boxing ring" rope railings are removed.
6/7/17 Except for the spaces between the projecting wall logs, the railings on this end of the porch are finished.
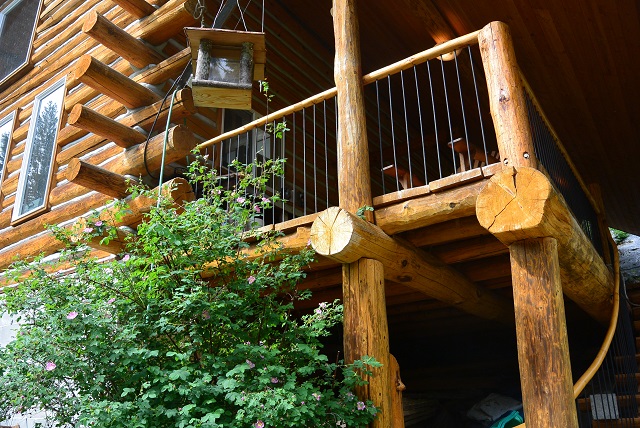
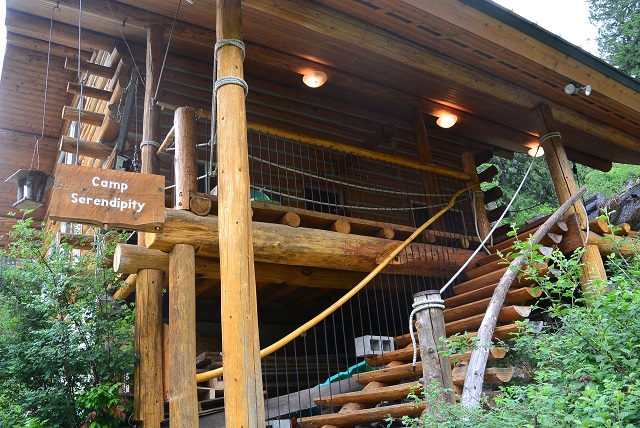
6/7/17 A view of the finished railings from down below.
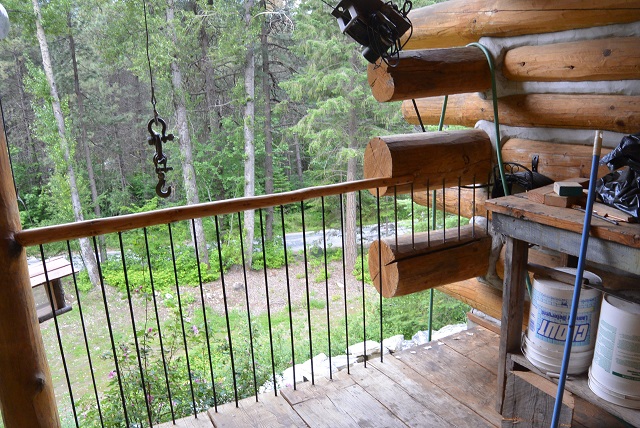
6/13/17 Short balusters between projecting wall logs at Grid E3.
. . . . . . . . . . . . . . . . . . . . . . . . . . . . . . . . . . . . . . . . . . . . . . . . . . .This is Page 2 of 4. Go to page
1
2
3
4
next
prev
©2017-2025 Paul R. Martin, All rights reserved.