Log Home Pictures from 2020, Part 3 of 3
. . . . . . . . . . . . . . . . . . . . . . . . . . . . . . . . . . . . . . . . . . . . . . . . . . .This is Page 3 of 3. Go to page 1 2 3 next prevOther years: 1991 1992 1993 1994 1995 1996 1997 1998 1999 2000 2001 2002 2003 2004 2005 2006 2007 2008 2009 2010 2011 2012 2013 2014 2015 2016 2017 2018 2019 2020 2021 2022 2023 2024 2025
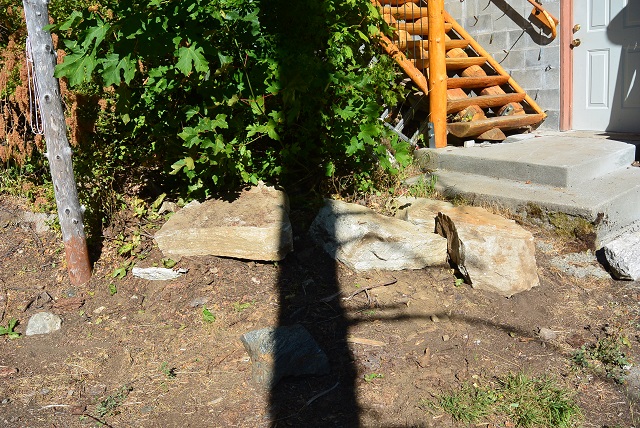
8/25/20 As part of cleaning out the crawl space in preparation for laying plastic on the floor, these rocks were dragged out through the door and placed here near the flag pole just to get them out of the way.
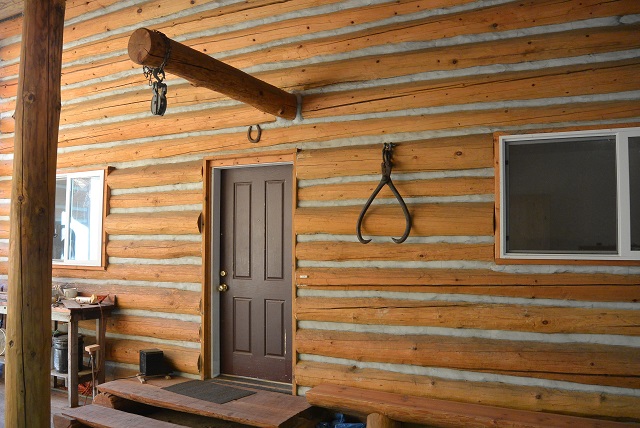
9/2/20 These logging tongs were given to me by Robert Ferrel. He helped me mount them on the wall.
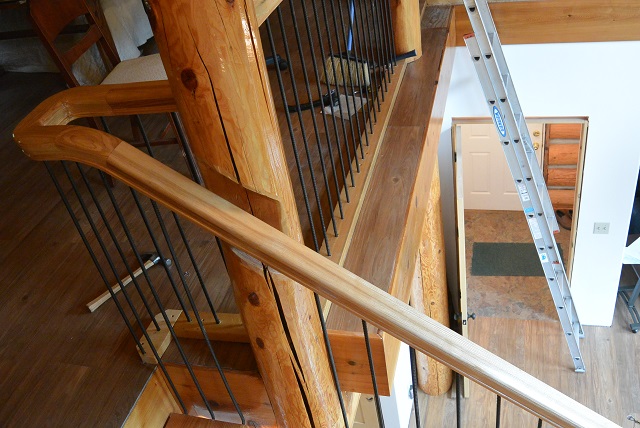
9/24/20 The strip of loft flooring between the balustrade and the fascia board presented special problems. One was simply access. For that, I erected an elaborate scaffold system that was removed prior to this picture being taken. Another was that the subfloor under the strip was irregular and too high in most places. For that I needed to remove all the screws holding the subfloor to the joists, then plane, scrape, chisel, and otherwise work the surface of the wood down so that the flooring would seat below the top of the fascia, and finally replace the screws before fitting the flooring. All that work does not show and the strip now looks simple and unremarkable. Many features of the cabin share that sort of secret.
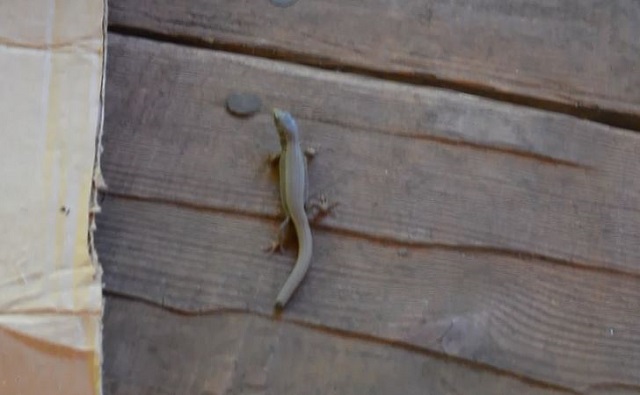
9/28/20 "Bob", the lizard. This was the latest one I have found inside the cabin and I have no idea how they get in. I'm glad they are easy to catch and evict.
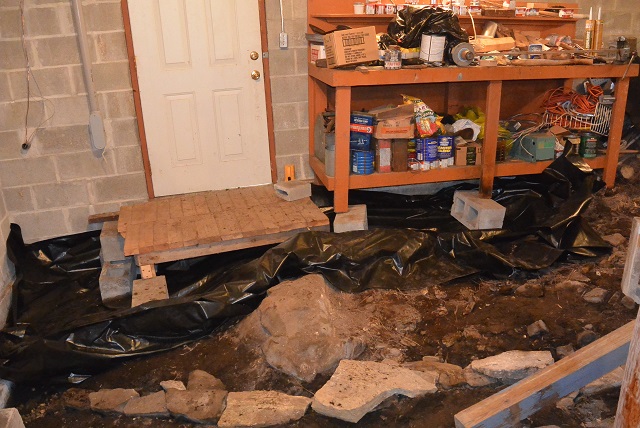
10/1/20 This is the start of laying plastic on the floor of the crawl space. This corner was the hardest part of the job. The wooden stoop in front of the door had to be removed and then replaced after the plastic was put down under it. Similarly, the workbench had to be jacked up, one leg at a time, to get the plastic under the leg. Here the middle leg and the left leg are done with the plastic successfully shoved under. The right leg will be a little easier and hadn't been done yet when this picture was taken. Laying out the rest of the plastic will be easy compared to this corner. You can see some of the big flat rocks I placed on top of the gravel in the drainage channel in the foreground.
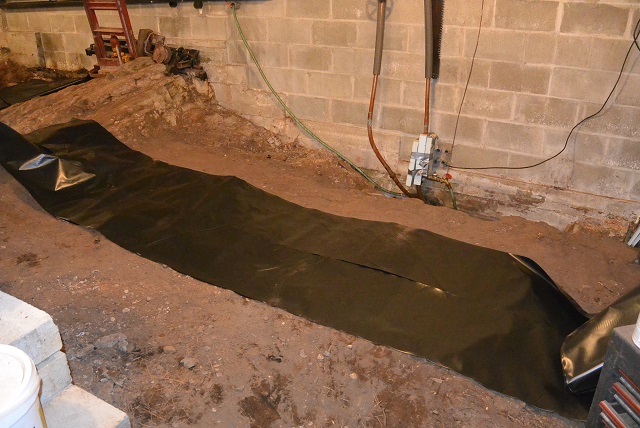
10/1/20 This is probably the easiest section of the floor because it is a fairly big area and can be covered by a fairly big sheet of plastic. The Gale installer helped me unroll and lay out the plastic. I will open it up and fit it against the walls, concrete pads, and rock outcroppings later at my leisure.
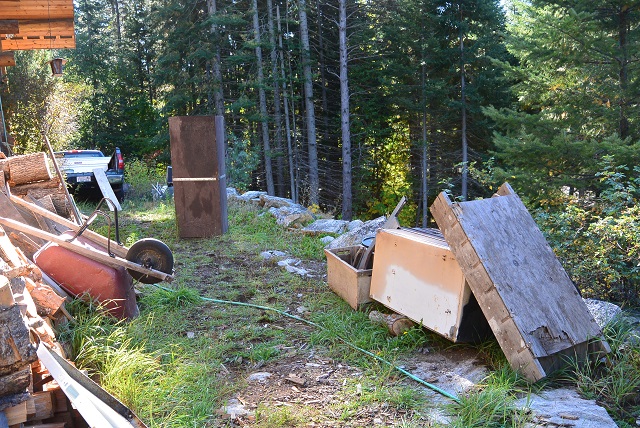
10/7/20 This is the nostalgic goodbye to some old, well-used junk. It is about to be loaded into the truck, which you can see with a ramp set up at the tailgate. The big wooden box was inherited from Leonard and was carried as a toolbox in the back of the truck until I set it up in the excavated crawl space where it sat as a toolbox until last week. I locked it up to protect chainsaws and other tools until I could lock the building up. Thieves broke the hasp at one point and stole two come-alongs, but otherwise nothing else was taken. The old metal freezer body was used as my waterproof cement storage locker since no roof was available to protect the cement from rain and snow. Leaning against it, is a wooden concrete mixing box that I used to mix the concrete for building the springbox. Various other junk is also waiting to be loaded into the truck.
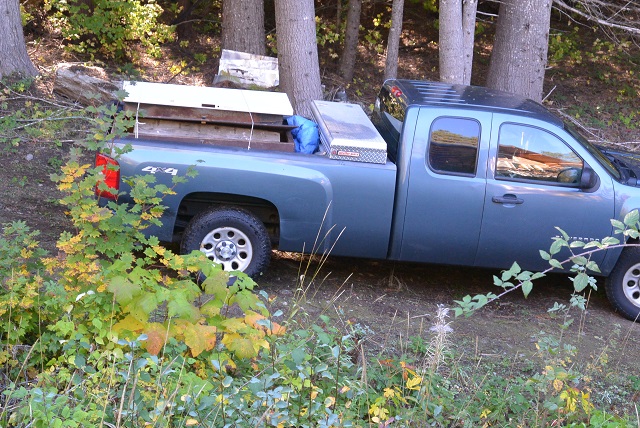
10/7/20 Here the truck is loaded with the junk and is ready to take it to the landfill transfer station.

10/12/20 Here's me with my laptop in a comfortable position ready to do some serious writing.
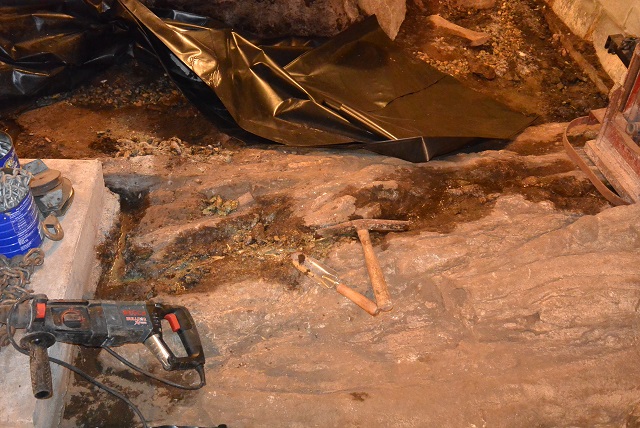
10/13/20 I was very surprised to discover that water was seeping out at the top of a high bedrock outcrop that I thought would always be high and dry. I could see that the water was going to run out in the direction toward the camera, but I wanted it to go the other way so that it could drain into an existing channel that you can barely see at the top of the picture. I used the Bosch Bulldog rotohammer to chisel a channel through the bedrock, alongside the concrete column pad, to get the water to run up into the drainage channel. I'll cover the entire outcropping with plastic to keep the moisture contained.
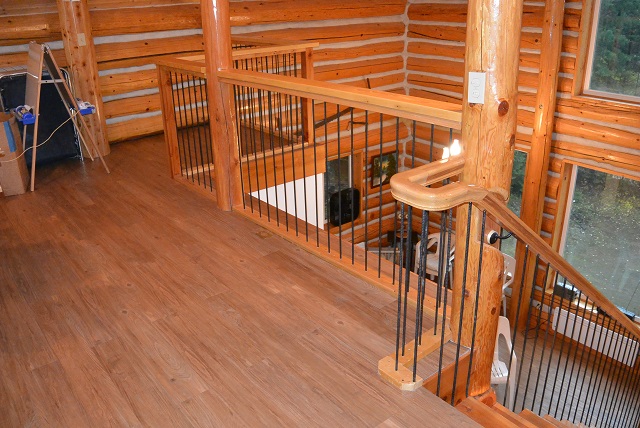
11/3/20 This picture shows the last of the loft flooring in place. The last section was that 5'x5' section at the far end. Now, the tools just need to be put away and the loft re-organized.
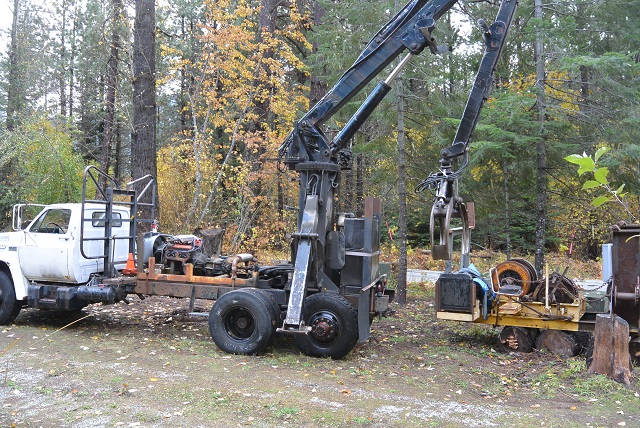
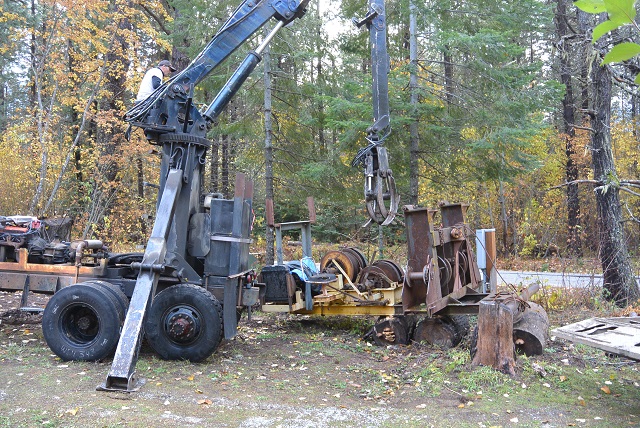
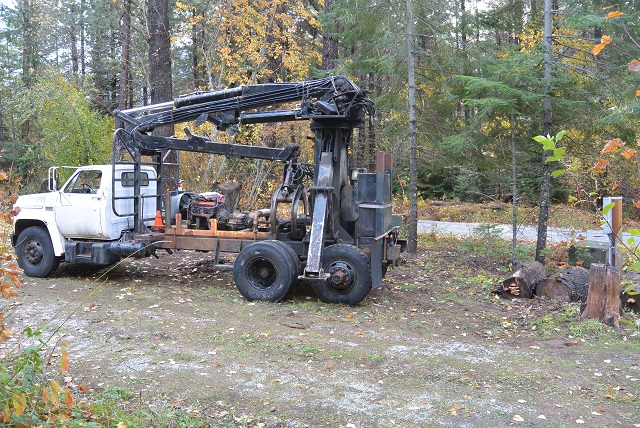
11/4/20 The logging operation at Camp Serendipity is finally coming to a close with the removal of the heavy equipment. Here you see the last two to leave: the loader on the left and the jammer on the right.
11/4/20 Josh has arrived in a big dump truck with an even bigger trailer behind. He is backing it into position to pick up the jammer.
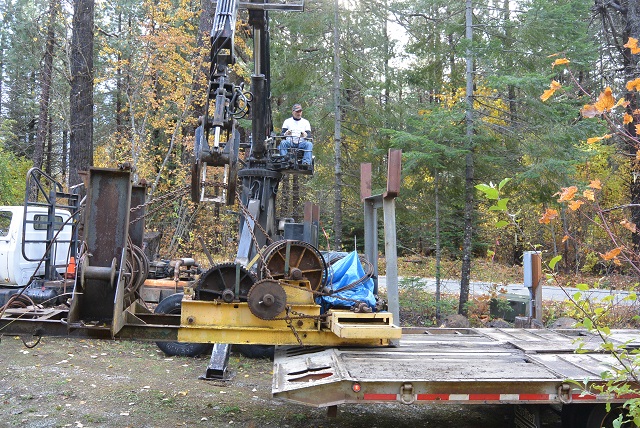
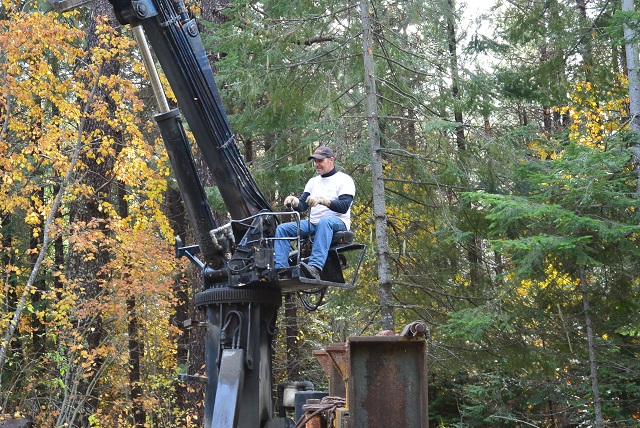
11/4/20 Here Robert is in his loader just starting to lift the jammer up off the logs it has been resting on.
11/4/20 He is swinging the jammer around so Josh can back the trailer under it.
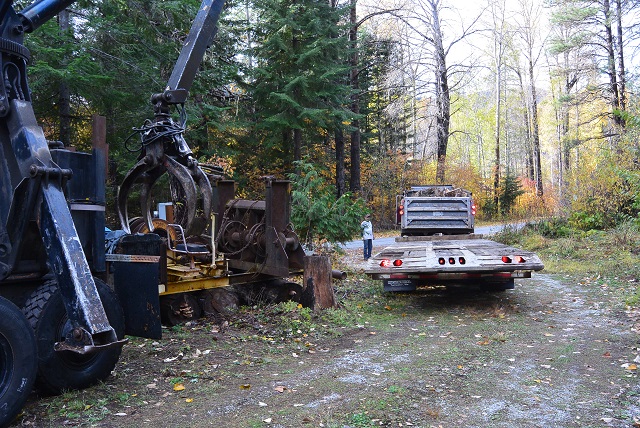
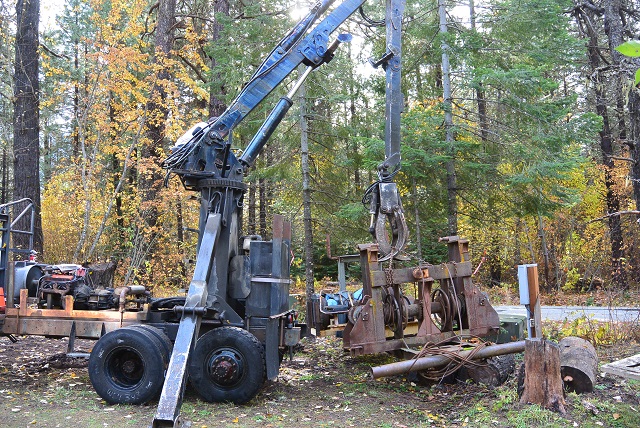
11/4/20 The trailer is gently sliding under the jammer which is just hanging there.
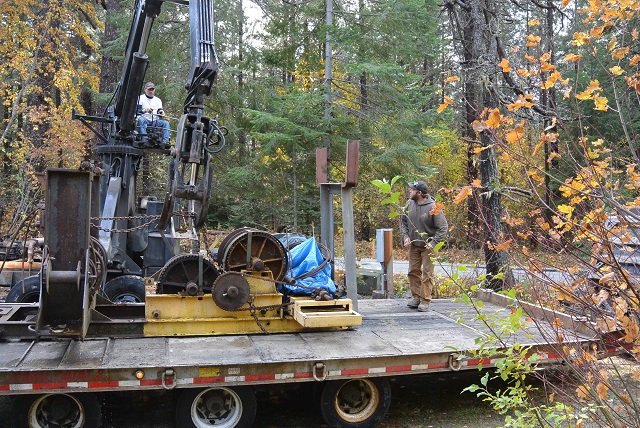
11/4/20 The jammer is now positioned properly on the trailer and Josh is preparing to chain it down. Shortly after, he hauled the jammer away, leaving the loader as the last remaining piece of machinery.
11/6/20 During a break in the rainy weather, Robert took the opportunity to fall a big pine snag that was dangerously overhanging the road. After the mess on the road was cleaned up, and after I replaced the house number sign on the high stump that Robert left, Robert folded up the loader in preparation for driving it away for the last time.
11/6/20 I followed Robert as he drove the loader to Plain and then I brought him back to Camp Serendipity as the final act in the logging operation.
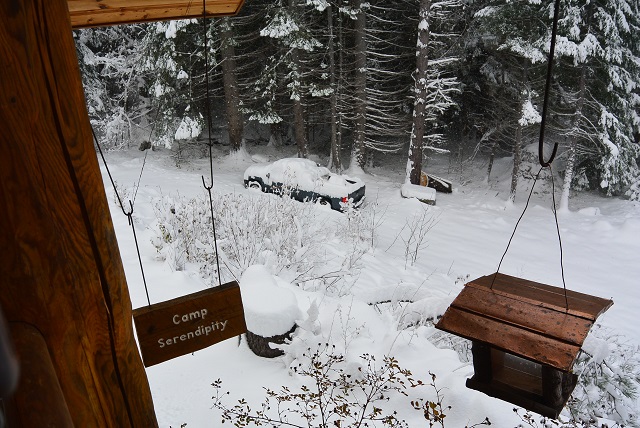
11/13/20 There was a 10-inch snowfall overnight which left me with a fun job of digging the truck out before I could leave for home. I love the snow.
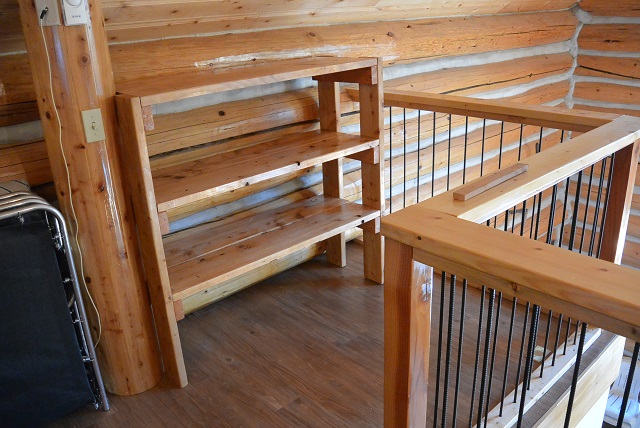
12/1/20 The first set of loft shelves is finished.
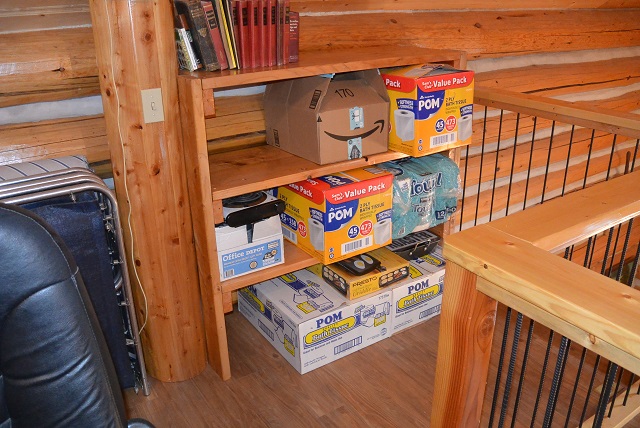
12/3/20 The shelves are partly loaded up with stuff.
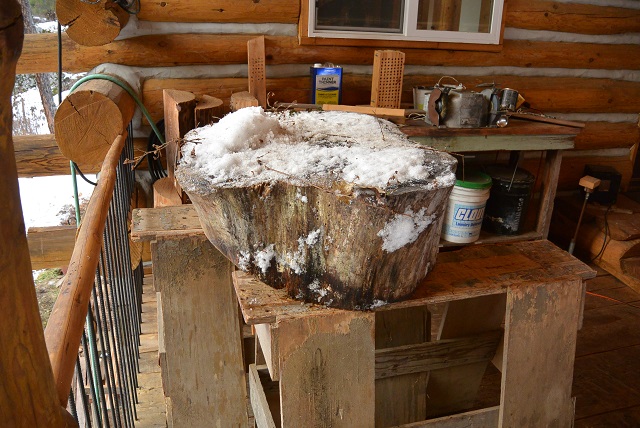
12/3/20 This big pine block was dragged up from the hairpin turn and lifted up onto the front porch using the porch crane. The block will be used for a woodcarving project.
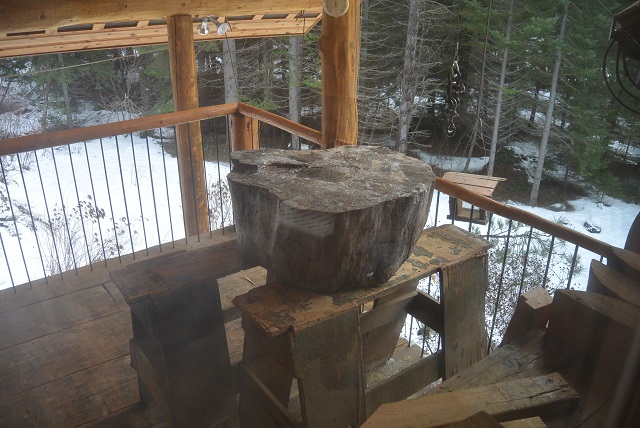
12/3/20 Here is the block with some of the snow scraped off.
Pictures from other years:
1991
1992
1993
1994
1995
1996
1997
1998
1999
2000
2001
2002
2003
2004
2005
2006
2007
2008
2009
2010
2011
2012
2013
2014
2015
2016
2017
2018
2019
2020
2021
2022
2023
2024
2025
©2020-2025 Paul R. Martin, All rights reserved.